グリッドは、コントロールを格子状に配置するコントロールだ。
空のUWPプロジェクトを作成する。
こんなMainPage.xamlが作られる。
<Page
x:Class="TestGrid.MainPage"
xmlns="http://schemas.microsoft.com/winfx/2006/xaml/presentation"
xmlns:x="http://schemas.microsoft.com/winfx/2006/xaml"
xmlns:local="using:TestGrid"
xmlns:d="http://schemas.microsoft.com/expression/blend/2008"
xmlns:mc="http://schemas.openxmlformats.org/markup-compatibility/2006"
mc:Ignorable="d">
<Grid Background="{ThemeResource ApplicationPageBackgroundThemeBrush}">
</Grid>
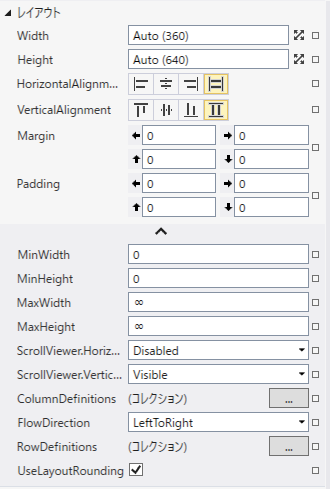
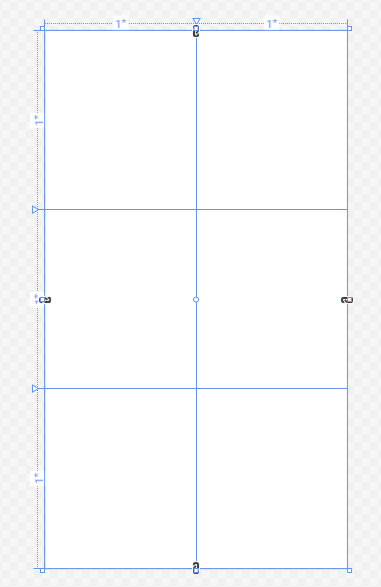
</Page>まず、行列を追加する。GridのプロパティでColumnDefinitions、RowDefinitionsで追加する。
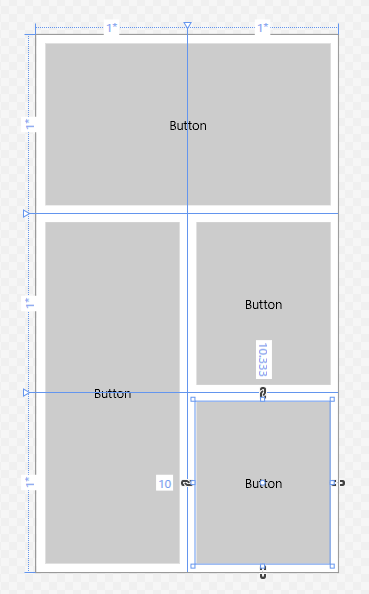
1行目全体にボタン、1列2行〜3行にボタン、2列2行と2列3行にそれぞれボタンをドラッグ&ドロップでおく。
xamlのGrid部分はこんなになる。
    <Grid Background="{ThemeResource ApplicationPageBackgroundThemeBrush}">
        <Grid.ColumnDefinitions>
            <ColumnDefinition />
            <ColumnDefinition />
        </Grid.ColumnDefinitions>
        <Grid.RowDefinitions>
            <RowDefinition />
            <RowDefinition />
            <RowDefinition />
        </Grid.RowDefinitions>
        <Button x:Name="button" Content="Button" HorizontalAlignment="Stretch" Margin="10,10,10,10.333" VerticalAlignment="Stretch" RenderTransformOrigin="0.231,0.451" Grid.ColumnSpan="2"/>
        <Button x:Name="button1" Content="Button" HorizontalAlignment="Stretch" Margin="10,9.667,10,10" Grid.Row="1" VerticalAlignment="Stretch" Grid.RowSpan="2"/>
        <Button x:Name="button2" Content="Button" Grid.Column="1" HorizontalAlignment="Stretch" Margin="10,9.667" Grid.Row="1" VerticalAlignment="Stretch"/>
        <Button x:Name="button3" Content="Button" Grid.Column="1" HorizontalAlignment="Stretch" Margin="10,10.333,10,10" Grid.Row="2" VerticalAlignment="Stretch"/>
    </Grid>
コメント